


Intuitive and easy-to-use smart lighting for your home

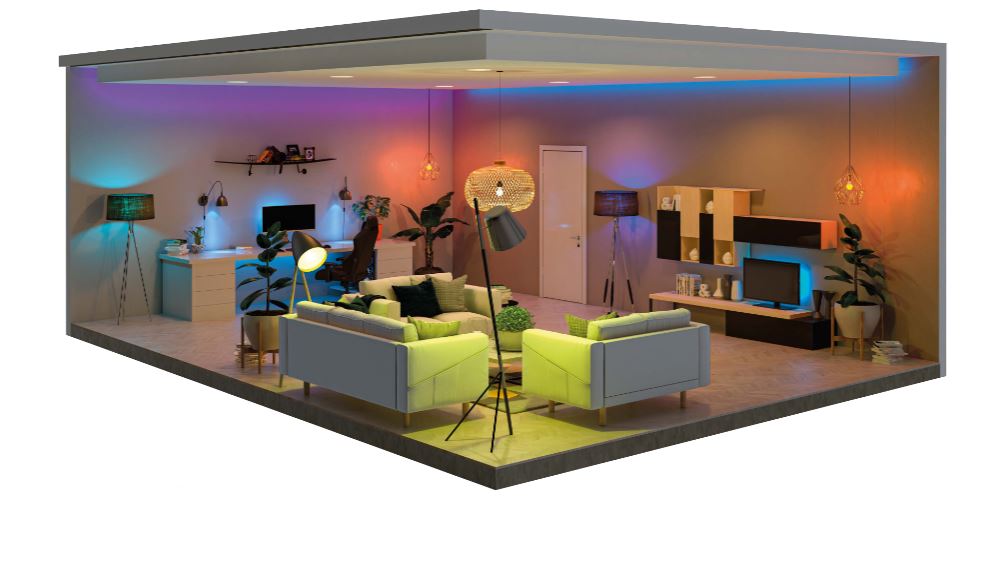
Integral LED Smart Lights use the power of Tuya and a Wi-Fi* network connection to create easy to control intelligent lighting for residential and commercial applications. Install your chosen lights and connect to the Tuya Smart app for effective and seamless control allowing you to achieve the perfect ambiance, set schedules and more.
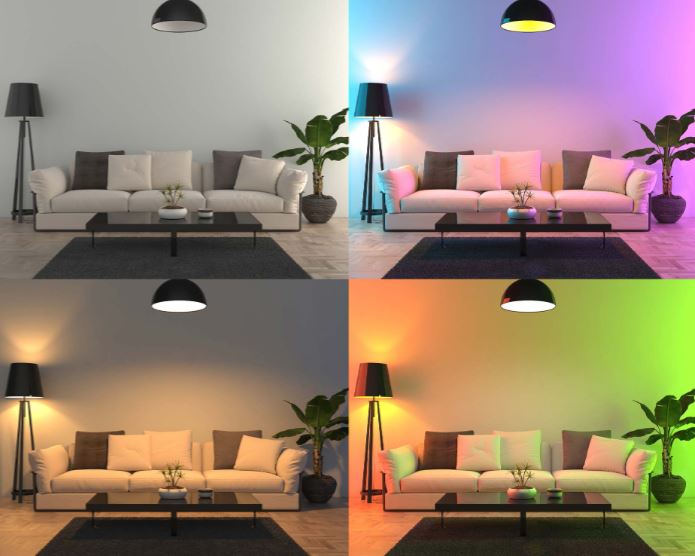
Light spaces in millions of colours or in shades of tuneable white to transform rooms for every occasion. Set the mood for a dinner party with bright colours, and then dim down to a cosy glow when it’s time for guests to head home.


Benefits of smart Wi-Fi lighting

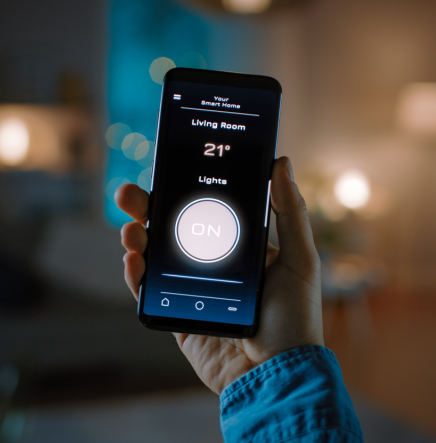
Control with the Tuya Smart app
Experience ease-of-use like never before with the free Tuya smart app. Control your lights through your smart phone or tablet.

Voice Control
Pair your Integral Smart Lights with your smart home assistant. Amazon Alexa or Google Assistant can be enabled in the Tuya Smart app to control your lights with your voice.
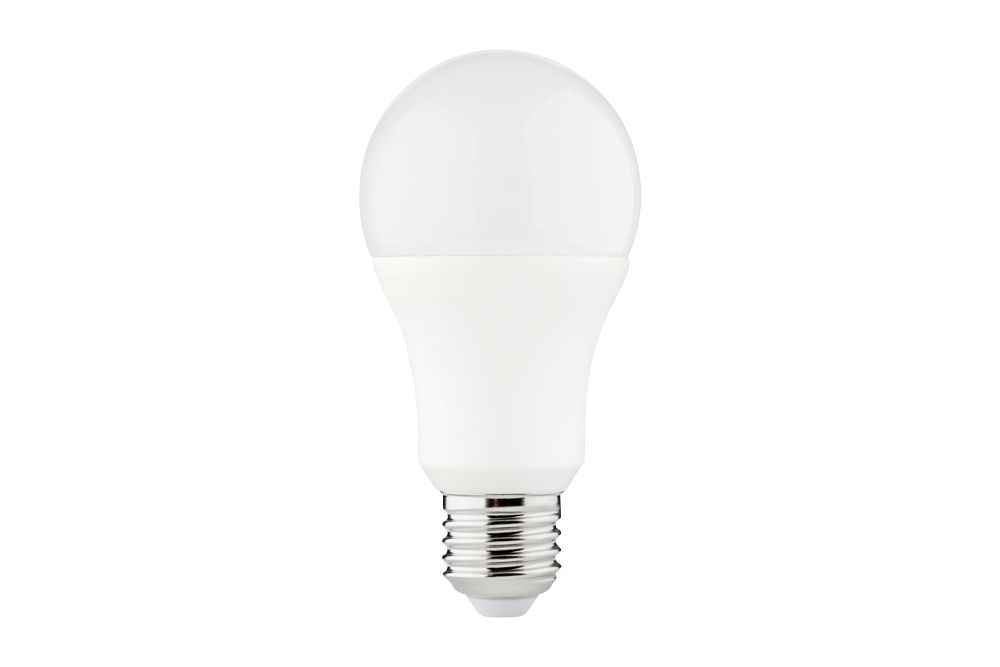
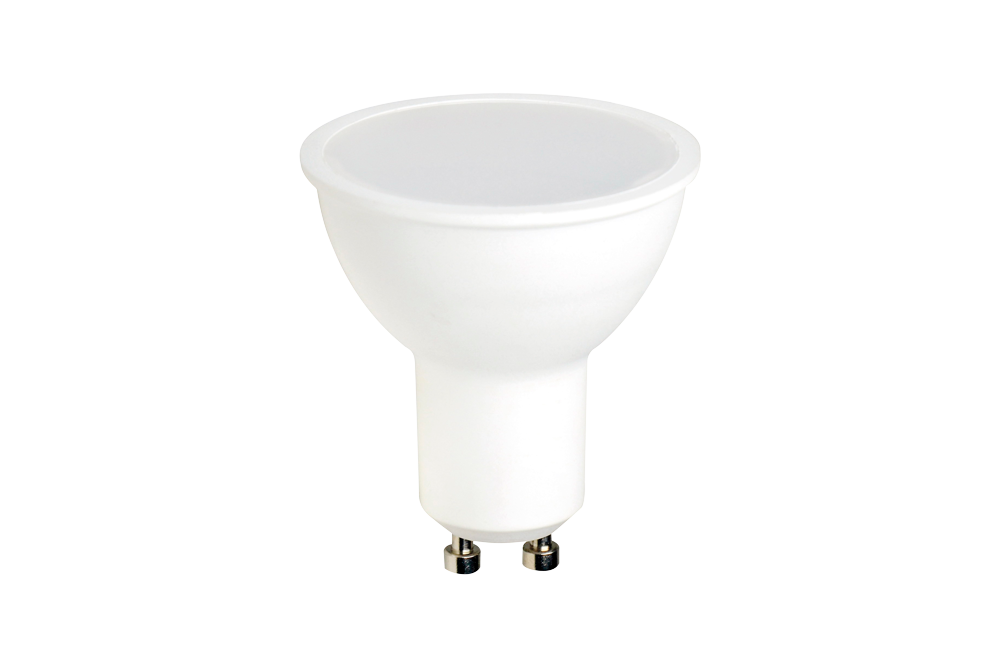
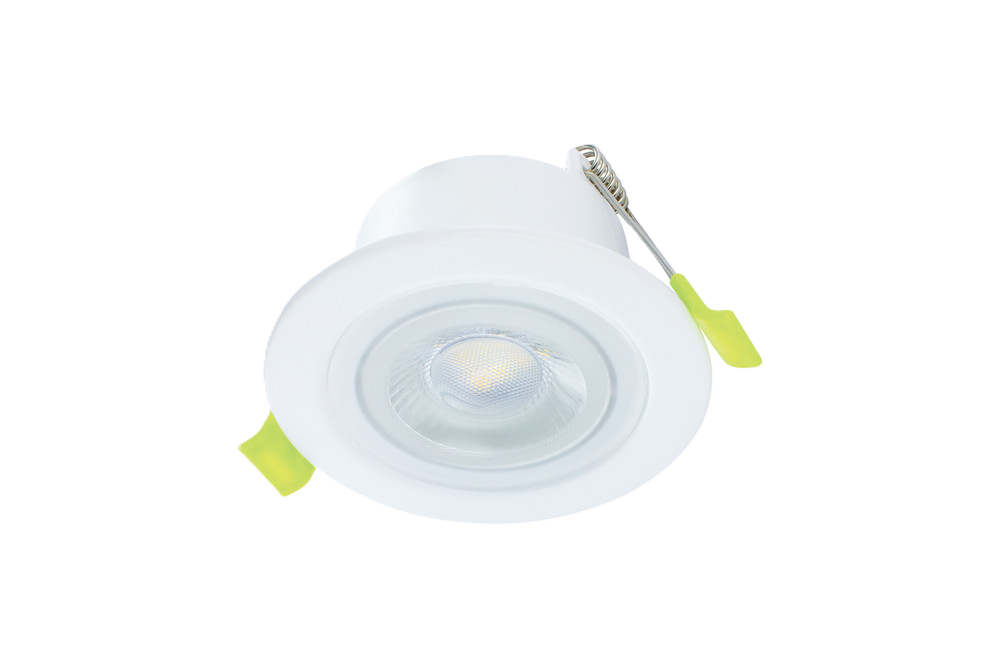
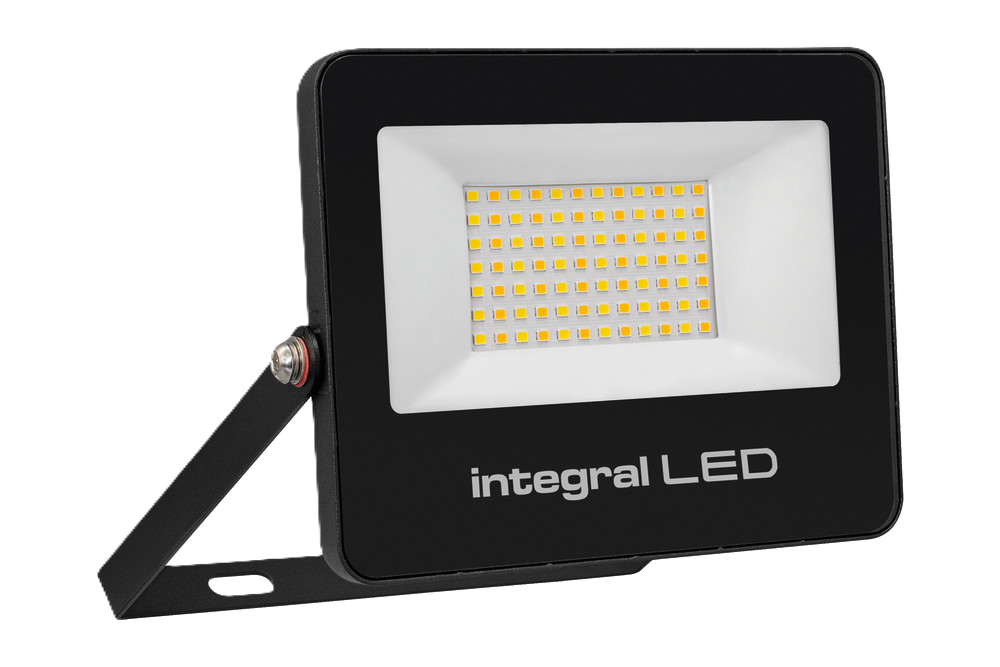
Our Smart Lighting Range


Tuya Instruction Manual
QR code to download the Tuya Smart Life App and
full user instructions can be found HERE.
Quick Start
- Download and install the Tuya Smart Life App.
- Register for an account or Log-in if you are an existing user.
- Turn on both Wi-Fi* and Bluetooth on your device.
(Bluetooth is required for first time connection to luminaires, subsequent use does not require Bluetooth). - To add a luminaire or device for app control:
- Select Lighting.
- Select Lighting (Wi-Fi + BLE).
- Switch the device on, off, on, off, on at 2 second intervals.
- After waiting for 7 seconds, confirm the indicator light on the luminaire blinks quickly.
Pairing mode is enabled. - Add the light and rename in the app for easy future recognition.
*Tuya Smart app require 2.4GHz Wi-Fi to connect. Most routers come with dual-band WiFi, which means they support both 2.4G and 5G WiFi frequency bands. Please check your router specification.
Tip: If the network hasn't connected successfully within 3 minutes and the light is always on, please repeat step 4.

Copyright Integral LED 2026